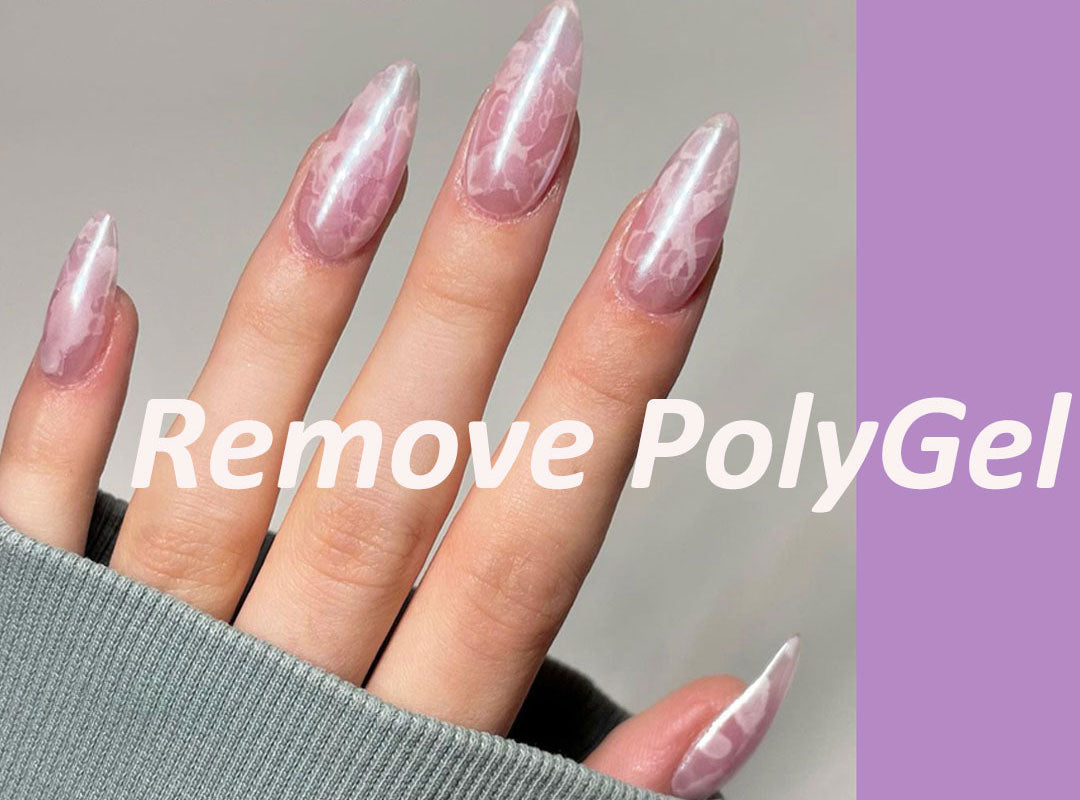
Polygel nails have become a popular choice for those seeking durable and beautiful manicures. However, when the time comes for a change, knowing how to remove Polygel nails properly is crucial to avoid damaging your natural nails. Follow this concise guide to safely remove your Polygel nails at home.

Materials You'll Need:
- Acetone
- Nail file
- Aluminum foil
- Cotton balls or cotton pads
- Cuticle oil
- Wooden cuticle pusher
Also you can buy the Remover Wraps from here
Step 1: Prep Your Workspace Set up a clean and well-ventilated area to work in. Gather all the necessary materials before you begin.
Step 2: Trim Nails Use nail clippers to trim the length of your Polygel nails. Be careful not to clip your natural nails.
Step 3: File the Top Layer Gently file the top layer of your Polygel nails using a nail file. This removes the shine and helps the acetone penetrate.
Step 4: Acetone Soak Soak small pieces of cotton balls or pads in acetone and place them on each nail.
Step 5: Wrap with Aluminum Foil Wrap each fingertip with aluminum foil to secure the acetone-soaked cotton. This creates a warm environment that aids in Polygel removal.
Step 6: Wait It Out Let your nails soak for about 15-20 minutes. Use this time to relax and unwind.
Step 7: Gently Remove Polygel Carefully remove the aluminum foil and cotton. The Polygel should have softened, making it easier to gently push or slide off using a wooden cuticle pusher.
Step 8: Buff and Nourish Use a nail buffer to gently smooth any remaining residue on your natural nails. Apply cuticle oil to moisturize your nails and the surrounding skin.
Step 9: Post-Removal Care Give your natural nails a break before applying new nail enhancements. This promotes nail health and strength.
Removing Polygel nails is a straightforward process that requires patience and attention to detail. By following these steps, you can safely take off your Polygel nails at home, allowing you to switch up your manicure while keeping your natural nails in top shape


